False lashes with winged liner and glittery lips
Lash application:
Today was all about eyes again. Holly showed us a few tricks on how to achieve the perfect application. She also showed us a brilliant little tool from MAC: the lash tweezers. This tool really helps to pinch the natural lashes together with the strip of the false lashes. It is much safer than regular tweezers, because it has a round end. Tweezers can be very dangerous because of their sharp, pointy ends.

Holly likes to apply the lashes first, before the eyeliner, because this way you can really see where the natural lash line is. She first measured the lashes to see if the length is suitable for the model. It was a little too long, so she taught us to always trim the outer edge of the false lashes if it is too long for the client's eyes.
 After measuring and cutting the lashes to the perfect size, Holly applied a little bit of Duo lash glue on a palette and dipped the end of her brush into the glue. She used the end of the brush to apply the lash glue to the lashes, because this way you get a nice, even distribution on the lash. After applying the glue onto the lashes, it is best to wait till the glue dries tacky. Holly also prefers to use mascara after she applied the falsies. She finds it easier to blend the natural lashes into the false lashes this way. It is best to ask the model to look down, rather than closing her eyes.
  Holly slightly lifted up the model's eyelids and placed the lashes in the centre as close to the natural lash line as possible and firmly pressed down the corners and held them down for a few seconds.
  Another really good tip is to stick the false lashes around your fingers before applying the glue. This can soften the base. If you're using lashes with clear stripes you may find it really helpful to apply a little bit of black gel eyeliner to make it blend more into the eyeliner. Once the lash dried, Holly used the lash tweezers to pinch them together. She applied a coat of mascara to blend them together and finished off the look by applying black eyeliner and a black kohl pencil from MAC to the lower and upper waterlines. Holly finds it easier to apply the gel liner after the lashes are on, because you're basically just following the stripe of the lash. Holly wanted to use MAC Studio Fix foundation in NC50, but she found it too warm for the model's skin tone so she decided to use her Bobbi Brown Pro Foundation Palette, and a MAC concealer where she needed a little bit more coverage. Holly only done one side of the face, leaving more time for us to practice. She also left the eyebrows undone to save time for us.
The final look:

Practical:
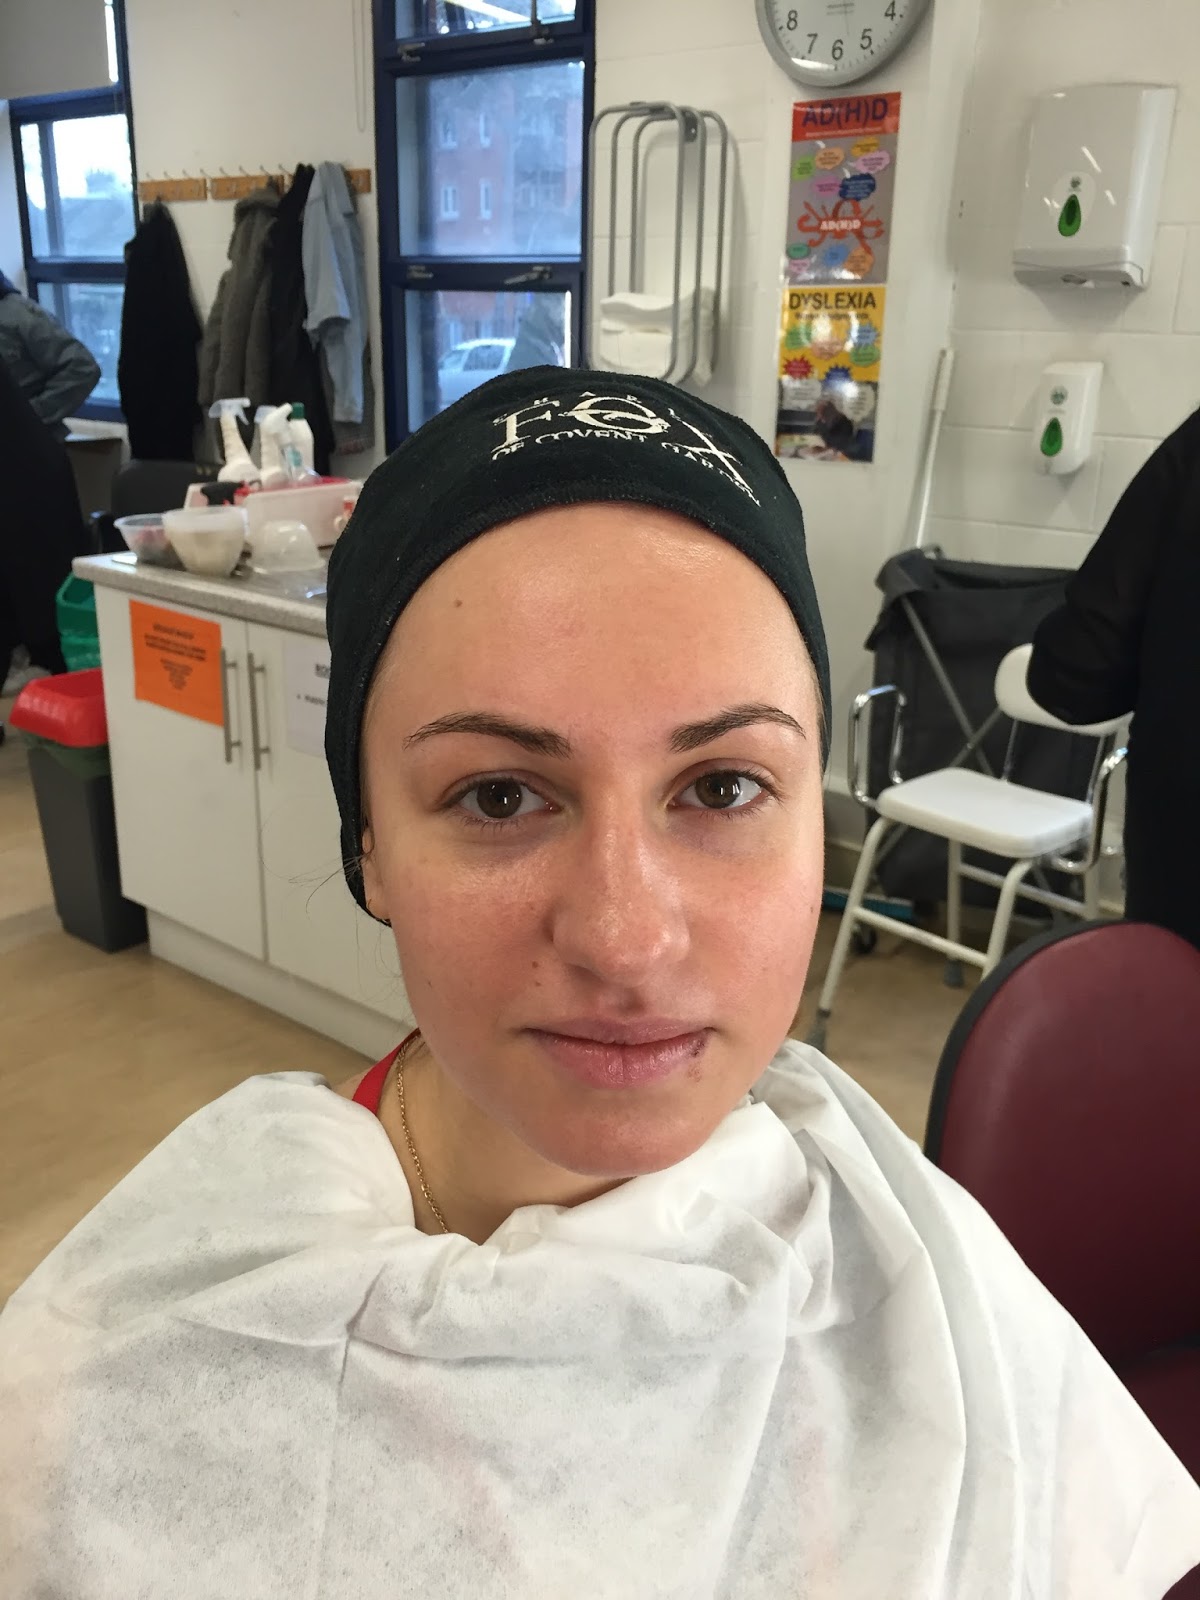
As usual, I started the practical session by covering my model's clothes with a cape and put on a headband. I than washed and sanitised my hands.
I than cleansed the skin with a cleansing milk, applied toner and moisturiser to prep the skin. Holly asked us to do a full face today. I decided to start with the false lashes, as this was the focus of today's session. I measured the false lashes to my model's eyes and I found it was a tiny bit too long so I cut off 2 lashes from the outer corner. I applied a little bit of DUO lash glue to the back of my brush and used that to distribute the glue on the lashes. While the glue was drying, I curled the natural lashes and applied a very thin layer of mascara. I prefer to apply mascara before and after applying the false lashes.
When the glue was tacky enough I placed the lash to the centre of the eyelid and pushed the corners in place firmly. I held the corners down for a few seconds. As my model is not used to wearing false lashes she felt a little bit uncomfortable wearing them. Even though I applied natural looking false lashes, she said it felt really heavy. After she opened her eyes, she thought it that the inner corner of the lash is poking her skin a little bit in the inner corner.
 Therefore I decided to remove the lashes and try to move them a tiny bit towards the outer corners. After the second attempt, my model felt much more comfortable and after a few minutes she kind of got used to wearing them, they did not feel heavy at all. Looking back now, I wish I used a more dramatic pair of falsies, because my model had really long natural lashes anyway so you could hardly detect that she is wearing false lashes (which is also nice in a way, but for the demo's sake, I wish I did).
  I also found it very strange not using tweezers to apply the lashes. Even though I can see Holly's point about tweezers being dangerous when applying lashes, I'm kind of used to it and I never had any issues or accidents with using tweezers (touch wood:)). But this time, instead of tweezers I used a stiff angled eyebrow brush to push the lashes as close to the natural lash lines as possible. After I was happy with the false lashes, I moved onto the eyeliner. After I applied Black Track by MAC I found it even harder to see the false lashes. I than applied black kohl pencil to the upper waterline to really intensify the upper lash line. This makes such a difference. It really help the false lashes look seamless. After I was happy with the eyes, I moved on to the skin. I used a mixture of two MAC Face&Body shades to create the correct foundation shade for my model's skin. I applied it with a flat foundation brush and buffed it into the skin with a dome fluff brush by Real Techniques (Expert face brush). I than used a NYX concealer palette to counteract the blueness underneath the eyes. My model had a cold sore, but I decided not to conceal it because I didn't want to slow down the healing process by blocking it with heavy, creamy products. It it was a special occasion, I would obviously cover it up, making sure to use a disposable brush to prevent cross-contamination. I than set everything with a Ben Nye Translucent powder, focusing on the T-Zone. I contoured her face using a matte, cool toned brown shade by MAC. I applied this underneath her cheekbones, to the sides of the nose and underneath the jawline. I applied a touch of blush to the apple of the cheeks. I also applied Benefit's High beam as a highlighter. After I was happy with the face, I filled in my model's eyebrows using Brow Wiz eyebrow pencil by Anastasia Beverly Hills. I also went back to the eyes to apply another coat of mascara to really blend the natural lashes into the falsies. (Please see my previous post on how to create the black glittery lips!)
And the final look:


Before and After:

Conclusion:
Next time I will make sure to use a more dramatic pair of false lashes. I will also make sure to apply plenty of lash glue on the inner part of the false lashes, as this is also a very common mistake when applying false lashes. The inner corners are where the lashes first lift up, if not adhered properly.
Looking back at the pictures now, I think I could have used slightly more concealer underneath the eyes, as a little bit of blueness is still showing through.
Looking back at the pictures now, I think I could have used slightly more concealer underneath the eyes, as a little bit of blueness is still showing through.
I hope you enjoyed this little tutorial, and see you next time! :)
Product List:
- Kaeso Beauty Calming Cleanser
- Kaeso Beauty Calming Toner
- Kaeso Beauty Calming Moisturiser
- Duo Lash glue
- MAC Haute & Naughty Too Black Lash Mascara
- MAC Black Track gel eyeliner
- MAC Smolder Kohl Pencil
- MAC Face&Body Foundation in shades C3 and C4
- NYX Pro Concealer Palette
- Ben Nye Translucent Powder
- MAC Shadowy Sculpting Powder
- MAC DollyMix Blusher
- Benefit High Beam Highlighter
- Anastasia Beverly Hills Brow Wizz eyebrow pencil in Medium Brown
No comments:
Post a Comment