Straight and Curly Blow Dry
Straight Blow Dry
Today's lesson was all about basic blow drying techniques. Kanika first demonstrated how to achieve the perfect, smooth blow dry. So let's see how blow-drying works:
The process of blow-drying works in pretty much the same as
setting the hair, and similar physical changes take place. Moisture and
heat together can cause hair to temporarily change shape. When we change the
shape of hair, we are altering the bonds in the cortex.
When you blow-dry the hair, you wet it and reshape it around a curler or brush
or sometimes your fingers. When
you apply heat, you remove the moisture from the hair and the bonds in the cortex of the hair reform into
a new shape.
If the hair
comes into contact with heat or moisture again, the new shape will fall out.
To
maintain the style, you must prevent the hair from absorbing moisture. This is
why it's important to use syling lotions and gels. They coat the cuticle of the hair and
slow down the absorbtion of moisture into the cortex.
How to
blow-dry hair
Drying your
finished hairstyle is so important. Your clients will judge
the quality of your work by the end result. There are a number of ways to dry
and style hair:
• blow-drying with a hand-held dryer;
• setting hair into shape using a hood
dryer;
• towel drying, with the aid of finger
drying; and
• moulding and shaping hair using
heat-styling equipment
When choosing
which of these methods to use, bear in mind that your client will have to be
able to style their own hair when they have left the salon. You should also
consider:
• your client’s hair type
• the desired finished shape
• which styling products you will use to
achieve and enhance the look
• what size brushes or rollers you should
use
How to dry
hair into shape
This is the
process of styling wet hair so that you achieve a particular shape when the
hair is dry. The most popular way of drying hair today is the hand-held hair
dryer (blow-dryer).
When you are blow-drying, there are some important factors to remember that will help you to get a good finish:
When you are blow-drying, there are some important factors to remember that will help you to get a good finish:
• after shampooing, towel-dry the hair
(wet hair takes a lot longer to blow-dry)
• apply styling products (mousse, gel, spray,etc)
• mark out each section of hair cleanly
and, starting at the bottom, work upwards
• direct the nozzle on the hair dryer down
the hair shaft. This will smooth the cuticle down and give you a better
finish
• Don’t hold the dryer still over a section as this will burn the hair
• use the cold feature on the hair dryer to fix the hair into shape (cold air
fixes the hair)
• work through the hair, using clean, small sections
• work through the hair, using clean, small sections
The sections you use will
determine the direction of the hair. They are usually horizontal, diagonal or
vertical. Make sure all the hair in each section is dry before you move onto
the next section. Remember that, the more volume you require at the root, the
more lift you must use. This is achieved by directing heat onto the root area
and then allowing the hair to cool down. Always keep the dryer a safe distance
away from the client’s scalp to protect them from any discomfort. Once you have
blow-dried the hair into the desired shape, you can use fixing and finishing products. These include gel, wax, serum and hair spray.
Always explain to your client how they can achieve the finished hairstyle and
recommend the correct products to help them care for their hair at home.
Practical:
I normally blow-dry my own hair, but I've never actually practised it on anyone else. I used other heated appliances on my clients before but that was always dry styling. For this reason I was very happy that we have these blocks to practice on in the first instance. After washing the hair of my block I made sure to towel-dry the hair before moving from the basin to the hairdressing-chair to avoid spillages (Health&Safety!). Once I fixed my block I applied some heat protecting lotion and massaged it into the hair focusing on the lengths. I than de-tangled the hair starting from the bottom and working my way up towards the roots, using a wide paddle brush. Once the hair was smooth and tangle-free I grabbed my tail comb and my sectioning clips to start sectioning the hair.


I normally blow-dry my own hair, but I've never actually practised it on anyone else. I used other heated appliances on my clients before but that was always dry styling. For this reason I was very happy that we have these blocks to practice on in the first instance. After washing the hair of my block I made sure to towel-dry the hair before moving from the basin to the hairdressing-chair to avoid spillages (Health&Safety!). Once I fixed my block I applied some heat protecting lotion and massaged it into the hair focusing on the lengths. I than de-tangled the hair starting from the bottom and working my way up towards the roots, using a wide paddle brush. Once the hair was smooth and tangle-free I grabbed my tail comb and my sectioning clips to start sectioning the hair.


I sectioned the hair into four sections and started the blow-dry from the bottom, at the nape of the neck, working my way up. Luckily I did not find blow-drying too difficult, however I do need to speed up a bit, because I was struggling to finish the whole head on time. I was quite happy with the volume I achieved at the roots, but looking back at the photos now, I could have spent a little bit more time smoothing the ends of the hair. Let's see the pictures:
 |
| Blow-dry on the block |
 |
| Blow-dry on the block |
I really enjoyed washing my model's hair and massaging her scalp because I could see she the joy on her face:) She nearly fell asleep in the chair. After I washed out the shampoo and conditioner, I towel-dried her hair and applied a small amount of serum. I first applied the serum to my palms and rubbed them together. This ensured an even distribution of the product throughout the hair. I wrapped her hair in a towel in turban style and asked her to sit back to the hairdressing chair.
I de-tangled her hair using a paddle brush, working my way up from the ends of the hair towards the roots, and sectioned her hair into four. First I was little scared to start the blow-dry on a real person, as I was scared that I'm going to burn her hair or scalp. But after I've done the first section of her hair, I calmed down a little bit because my model reassured me that she is enjoying this treatment very much. (She actually fell asleep twice LOL :)
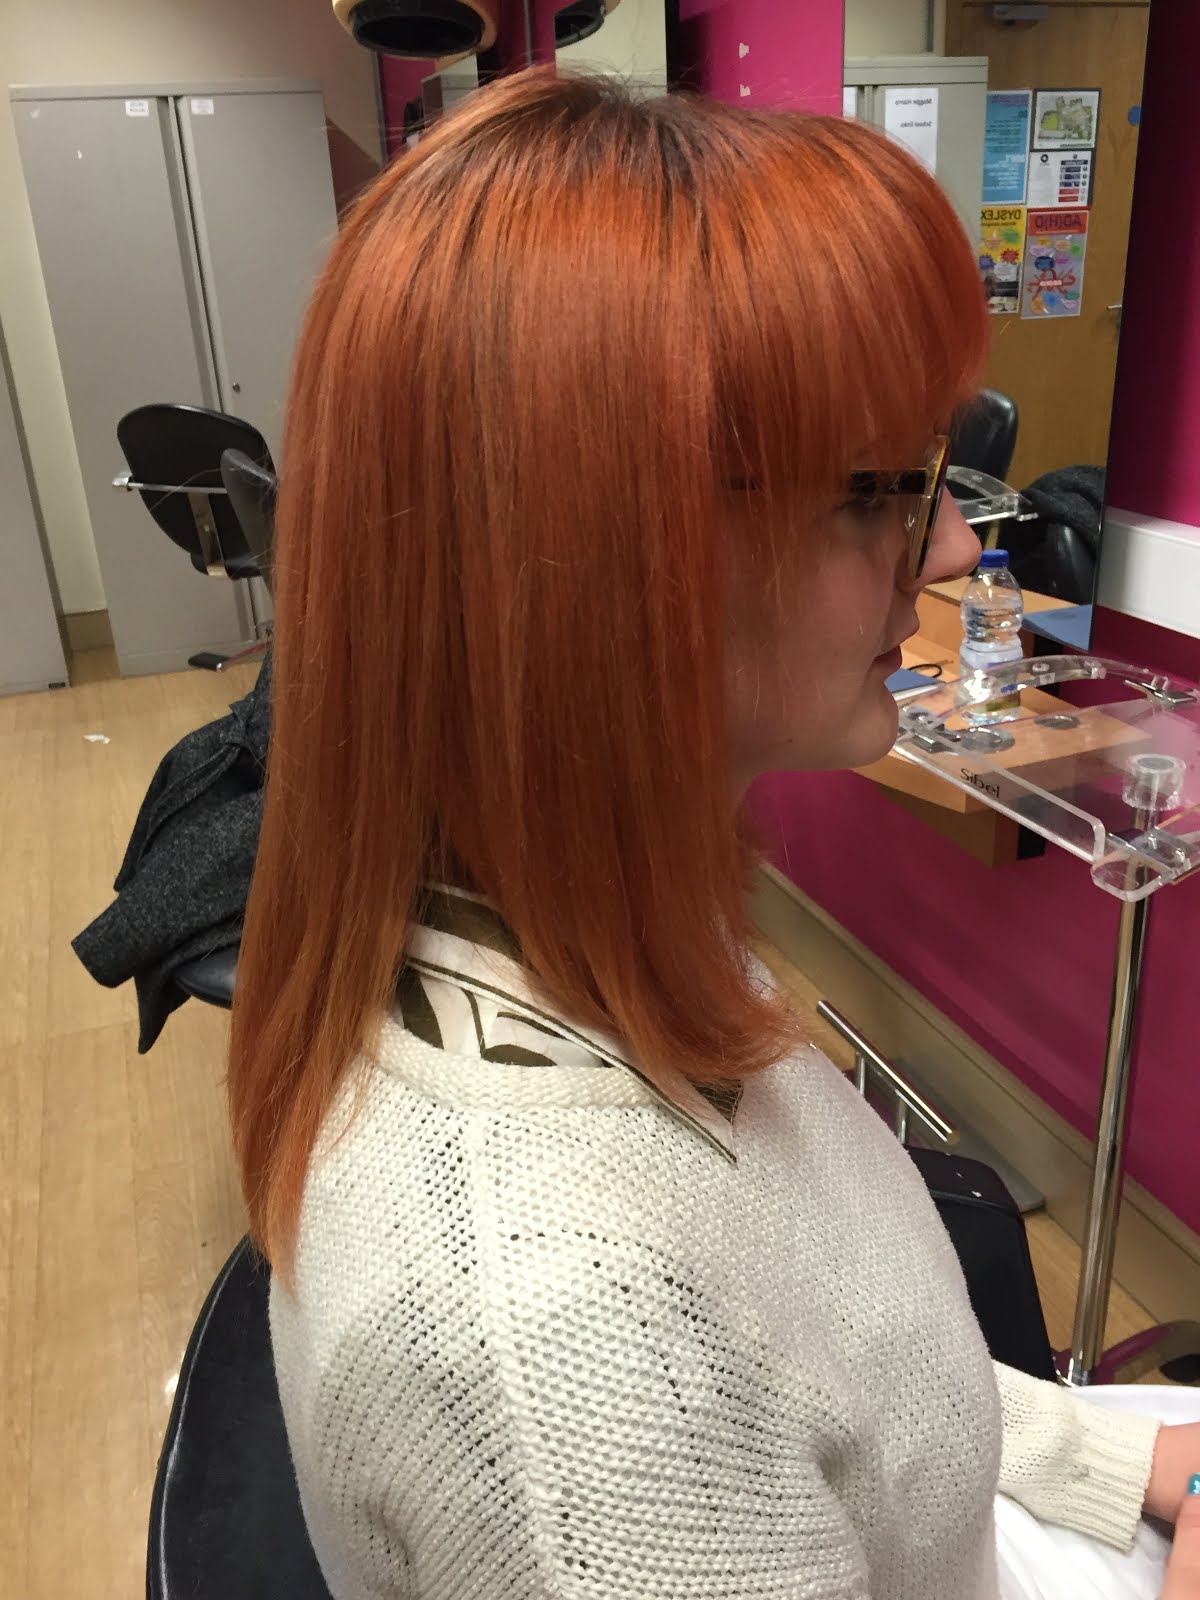
After asking my model what style she would like, she decided on a simple blow-dry with her ends dried towards her face (inwards) .
 |
| Sectioning into 4 |
 |
| Blow-dry on a model |
 |
| After straightening |
 |
| Before straightening |
 |
| After straightening |
 |
| After straightening |
 |
| The end result |
Curly Blow-Dry:
As much as I enjoy doing a straight blow-dry, I'm literally rubbish at the curly blow-dry. Not so much with the medium sized round brush, I can get away with that, but when it comes to using the smallest size, it is a nightmare to me. The hair gets really tangled and the brush ends up sticking in my block's hair. Thank God I wasn't doing it on a real person. I'll really have to practice this because when it comes to doing it on a real person, I'm gonna be in trouble. It's that part when you twist the brush to achieve the curls at the ends of the hair. Eventually I did manage to create some curls in the hair but I really had to take my time with it, so I ended up running out of time at the end of the lesson. It was really stressing me out and unfortunately I forgot to take any photos. But this is how it should look like. I also found a nice tutorial on how to create these bouncy curls.
 |
| Curly blow-dry |
 |
| Curly blow-dry |
Conclusion:
Overall, I know I'm in the right direction because I did manage to create the curls eventually, I just found it very tricky to use the small round brush. I would love to perfect this technique because curly blow-dry is a huge trend at the moment. I think big, bouncy, natural curls will always be fashionable and chic, so i'm really gonna have to practice and perfect this technique.
Reference:
Ashfield, K. (No date) My curly blow dry [Online]
Available at: https://s-media-cache-ak0.pinimg.com/originals/df/6d/9b/df6d9b08dda523fce7a23a6a5d879705.jpg
(Accessed: 06 December 2015)
Liz, R. (2012) Cross between "Red Carpet" and "Hollywood" [Online]
Available at: http://www.yelp.com/biz_photos/blo-blow-dry-bar-boston-2?select=soKsMBCJbmM9f3EkGNOGCg
(Accessed: 06 December 2015)
No comments:
Post a Comment